 to make your own cakesicles. #cakesicles #cake #howto #wedding | thesugarcoatedcottage.com" width="700" height="1049" />
to make your own cakesicles. #cakesicles #cake #howto #wedding | thesugarcoatedcottage.com" width="700" height="1049" />
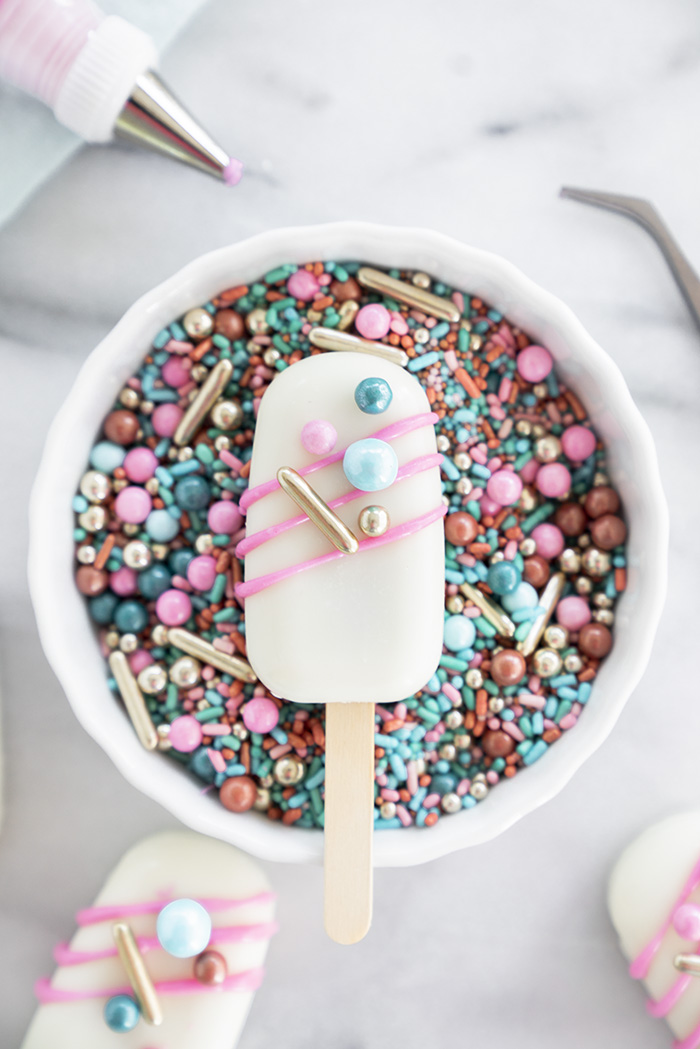
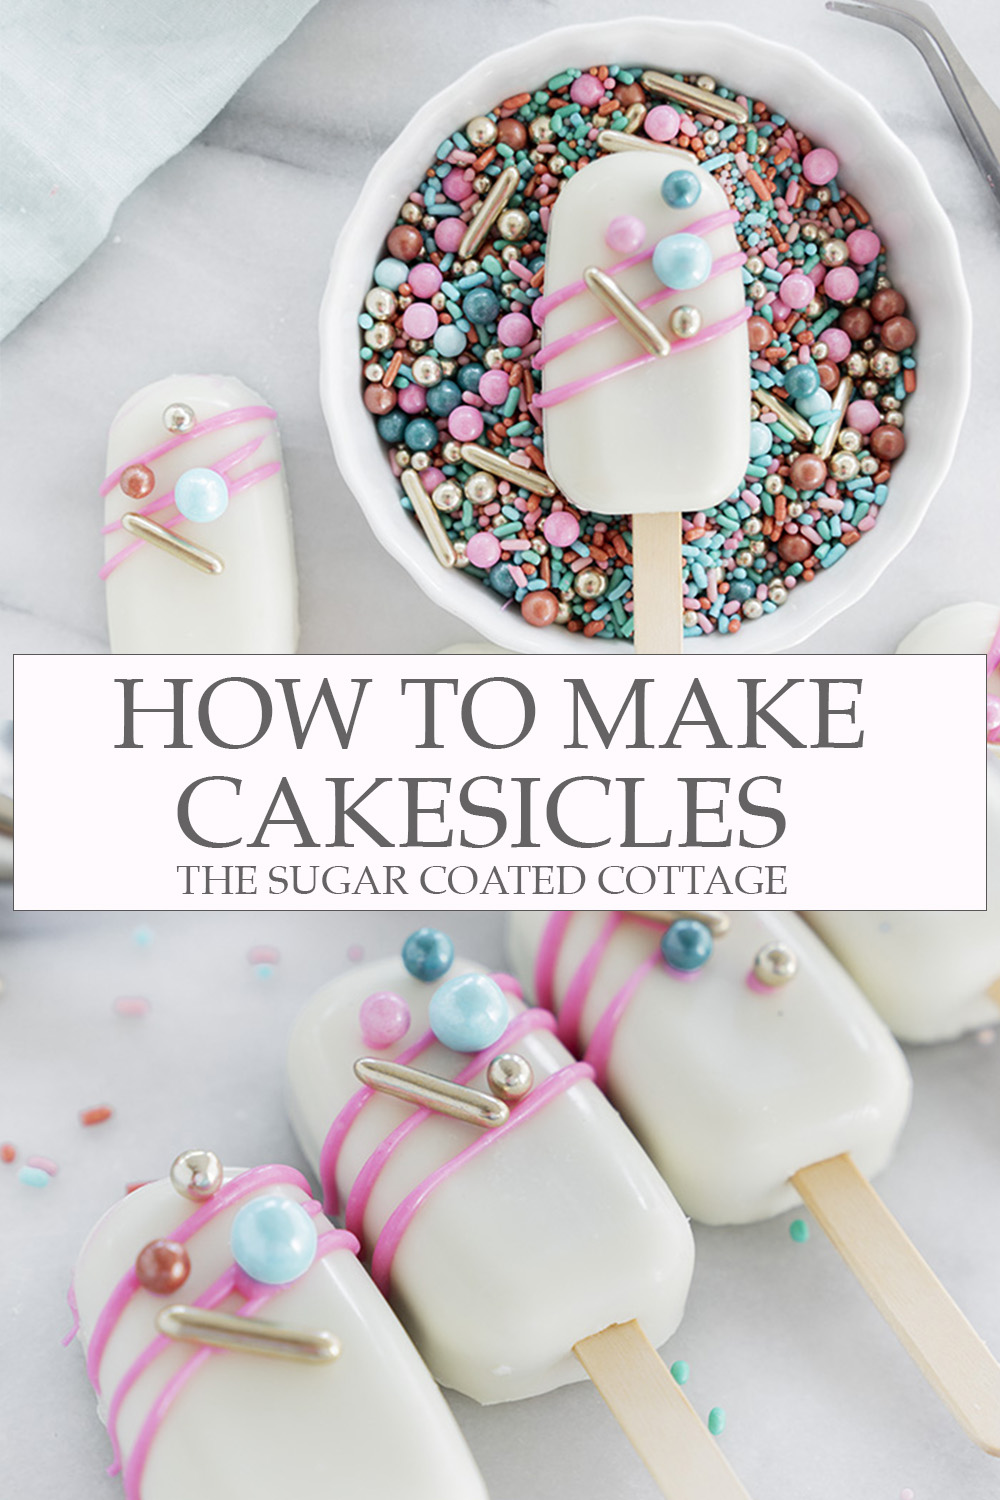
How To Make Cakesicles. A step by step guide to teach you how to make your own cakesicles.
Aren’t these just the sweetest little treats you’ve ever seen? We’ve all heard of cake pops but these are called “Cakesicles”, which really means a cake pop in the shape of a popsicle. However there is a certain classy charm to Cakesicles. Maybe its the molded shape, the shiny surface or that you don’t know if its a popsicle or cake inside until you take a bite. Whatever the appeal is for you I am going to show you how to make your own. Let’s get started!
 to make your own cakesicles. #cakesicles #cake #howto #wedding | thesugarcoatedcottage.com" width="700" height="1049" />
 to make your own cakesicles. #cakesicles #cake #howto #wedding | thesugarcoatedcottage.com" width="700" height="1049" />
 to make your own cakesicles. #cakesicles #cake #howto #wedding | thesugarcoatedcottage.com" width="700" height="702" />
 to make your own cakesicles. #cakesicles #cake #howto #wedding | thesugarcoatedcottage.com" width="700" height="351" />
 to make your own cakesicles. #cakesicles #cake #howto #wedding | thesugarcoatedcottage.com" width="700" height="1049" />
 to make your own cakesicles. #cakesicles #cake #howto #wedding | thesugarcoatedcottage.com" width="700" height="1049" />
 to make your own cakesicles. #cakesicles #cake #howto #wedding | thesugarcoatedcottage.com" width="700" height="1049" />
Enjoy these cakesicles and as always if you have questions shoot me an email, stacey@thesugarcoatedcottage.com.
Here are the tools I used. (Please note that the below are Amazon affiliate links which means if you purchase from these links I get a small commission at no cost to you. Thanks for supporting The Sugar Coated Cottage!)
 to make your own cakesicles. #cakesicles #cake #howto #wedding | thesugarcoatedcottage.com" width="1000" height="1500" />
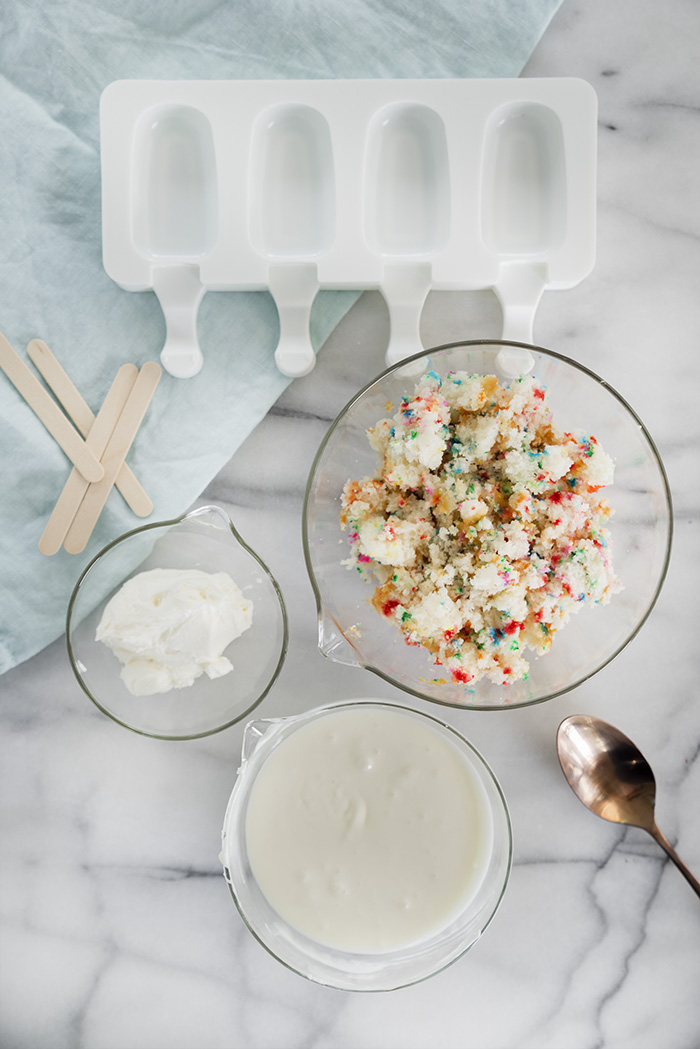
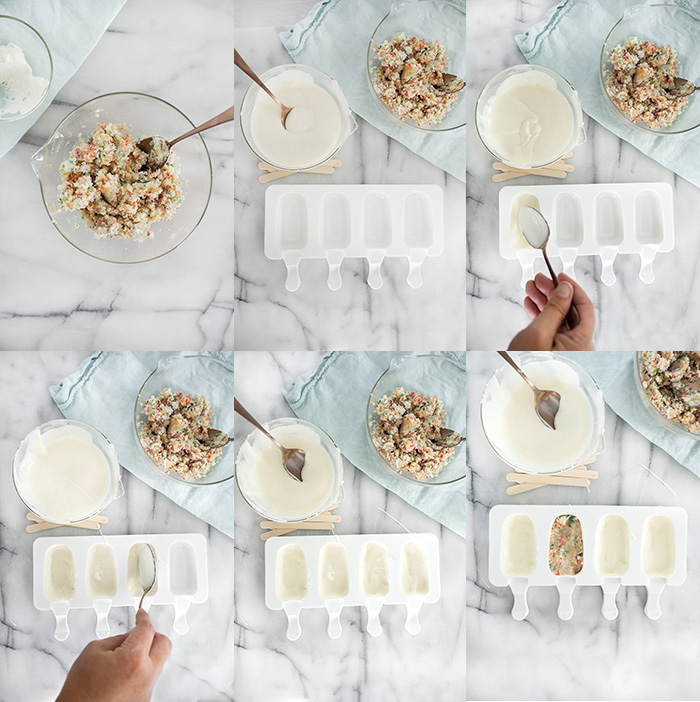
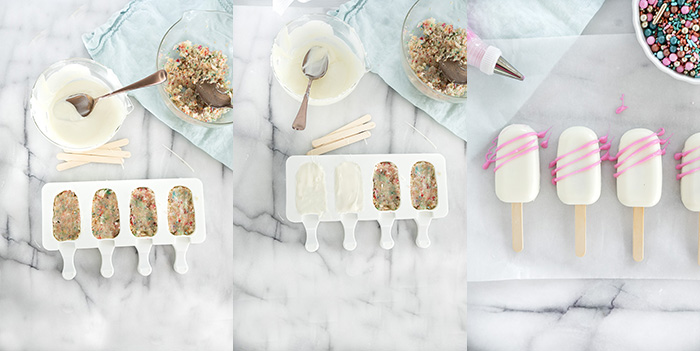
1. Take a spoonful of melted coating and pour it into the first mold. 2. Let it set for 15 seconds to thicken a little (the hotter your coating the runnier it is). Then with the back of the spoon spread it evenly around and up the sides of the cake sickle mold. Go up and around the sides of the mold about 3 times to make sure the coating is thick enough. If the coating is too thin it will crack when unmolding the cakesicles (I'm speaking from experience 😉 ).
3. Repeat with the remaining molds. 4. Chill for 3 minutes.5. Scoop a small portion of your cake mixture and gently press it into the prepared molds, adding or removing any extra as needed. The top of the cake mixture should be just below the top of the mold so there is room for the final coating.
6. Repeat with remaining cakesicles.7. This is the time to insert your popsicle sticks. Push them through into the cake filling, press cake filling back into place if any popped up a little. When you push through the popsicle stick you will be pushing through the coating so give a gentle push to break through, once in the stick should easily push through the cake filling.
8. Using the spoon put a small amount of melted coating on top of the cake filling. Spread it to the edges and even out the surface as best you can. You will get better at this step as you go. My first few were really uneven on top. The coating sets fast so work one cakesicle at a time.
9. Let set completely. I like to place in refrigerator 5 minutes before removing from the mold.10. To remove from the mold gently start at the top of the cakesicle and gently push the cake pop our of the mold. When you get to the base gently pull the cakesicle stick through. NOTE: If you have some rough edges of extra coating take a warm knife and gently cut them off.
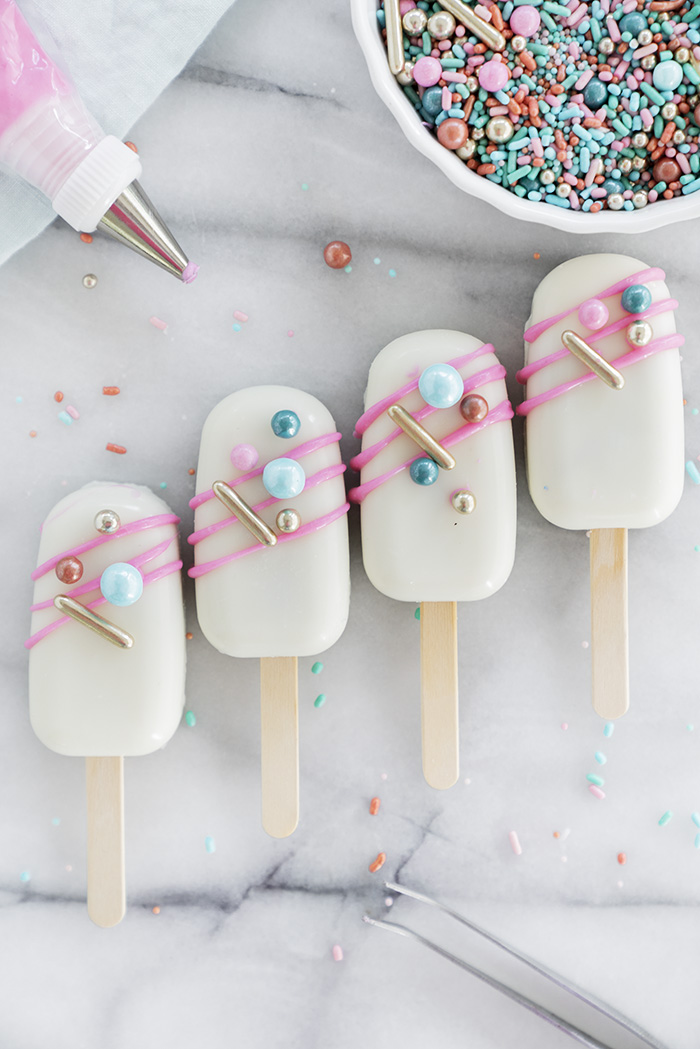
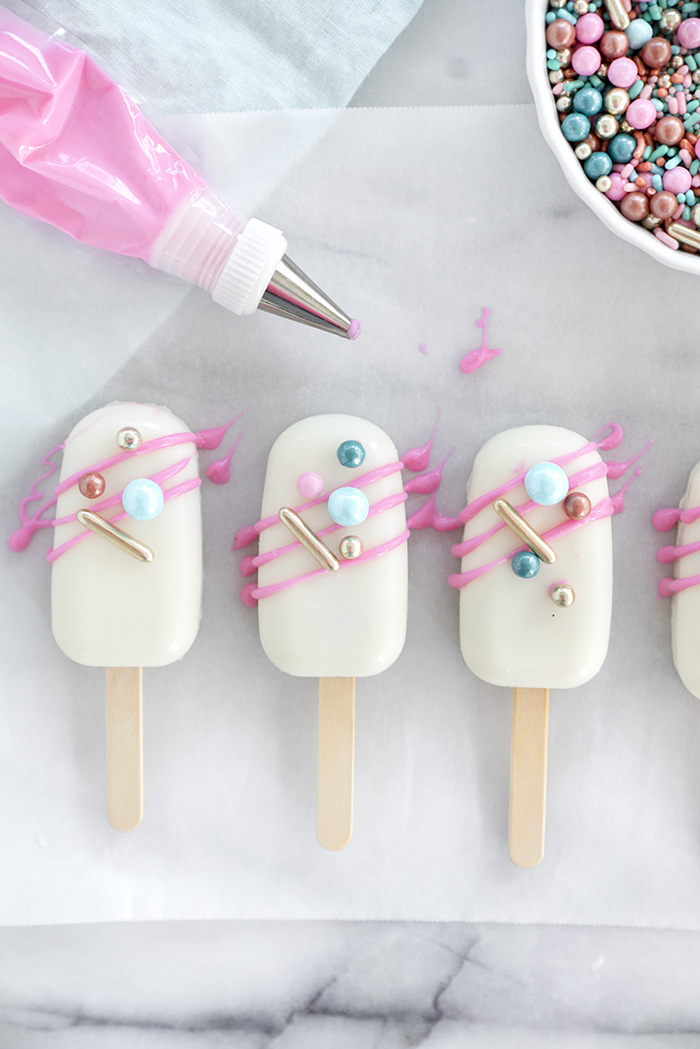
11. Store in airtight container in cool place. IF DECORATING: 1. Color your drizzle coating as desired (I used pink gel coloring). 2. Have sprinkles ready.3. Decorating one cakesicle at a time, fill a piping bag fitted with a small hole tip with your colored coating (I used wilton tip #3). Drizzle lines as desired.
4. Place sprinkles immediately as coating sets fast. If you find your coating is already setting too fast you can dab a little coating the back of each sprinkle piece and place as you'd like on the cakesicle.
5. Repeat with remaining cakesicles. If your drizzling leaves some thick blobs of coating around the edge of the cakesicle, gently break it off or use a warm knife to trim off the extra.
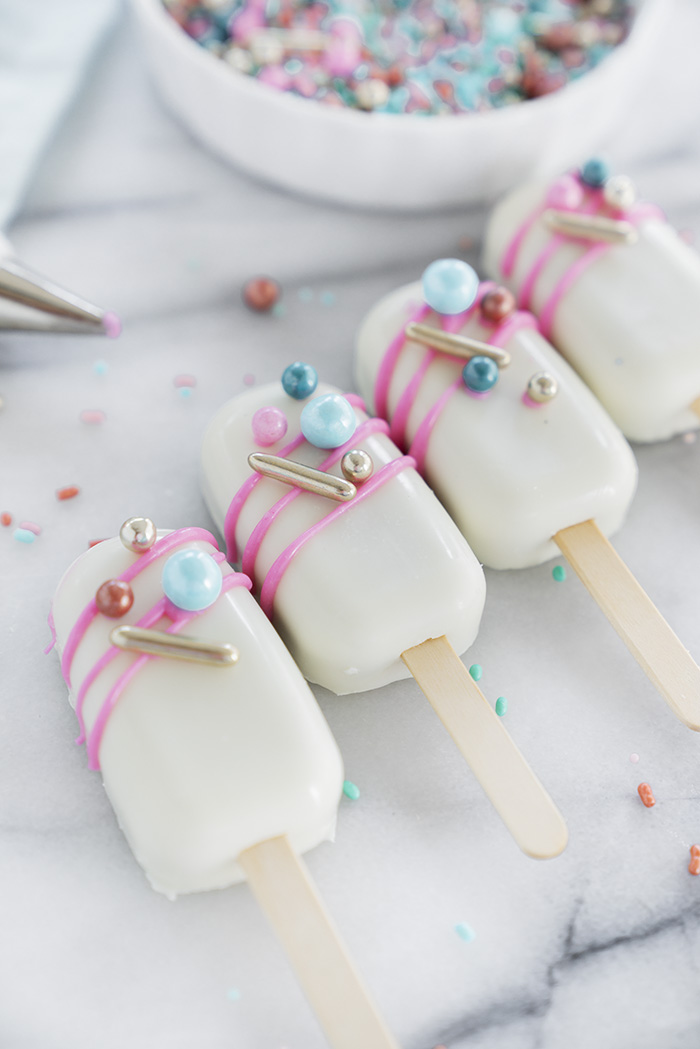
6. Let set and store in airtight container until ready to serve.Keyword 4th of july dessert, baby shower desserts, cake, cake decorating, cake pops, cakesicles, how to make cakesicles, wedding desserts
Tried this recipe? Let us know how it was!
Stacey,
This has nothing to do with the cakesicles recipe. I was going thru the achieves and found a recipe from 2018 in November called Pumpkin Cake with Salted Caramel Bourbon. I am wanting to make it for Thanksgiving. There is not a mention in the recipe for caramel or bourbon, can you please tell me how much of each ingredient is needed.
Thank you so much.
Hi Kathy, I have since updated the recipe. I switched recipe widgets a few months ago and it appears it pulled a different pumpkin recipe over during the transfer (pumpkin cake with brown sugar buttercream). I have updated the recipe accordingly, the bourbon and caramel is in the buttercream portion of the recipe. Happy baking, enjoy! 😉
How do you keep the melted coating from hardening up in the bowl as you work?Hi Jenni, sorry for the delay, this comment slipped by me. The melted coating hardening is inevitable (unfortunately) but I find if I place a kitchen towel around the base and sides of the bowl as I work it helps to insulate the warmth of the coating and slows down the process of it hardening. Then as it hardens I place it in the microwave for 10 seconds at a time and stir it so the mixture is all one temperature again. Happy Holidays. Take care!
Hi Stacey,
How do we store the cakesicles after they have been decoatated? Can they be kept in fridge as the weather is getting warm?
Hello Gloria, great question, thanks for asking. Yes, cakesicles can be refrigerated. However keep in mind how drastic the temperature change will be from the fridge to the display table. The more drastic the temp change the greater chance for condensation beads to form on the cakesicles. So lets say you refrigerate them and they are going to be placed outside in the summer. I would remove them from the refrigerator first, let them rest a bit at room temp and then move them outside. There is no exact science here but it’s good to be aware of the possibility and to try and avoid it 😉 . With that being said, condensation will not change the flavor, but it could affect the coloring and cause your sprinkles to bleed, etc. Any other questions let me know. Happy baking! Take care 🙂
Hello! How long can these be stored in the fridge for? Can they be frozen? If so, how long can you freeze them for?
Hi Leanne,
These can stay refrigerated for about 7 days. As with anything the sooner you eat it the fresher it will be 😉 but the ingredients will be good in a weeks time. I have not personally frozen these so I cannot speak from personal experience (though I will try it in the near future because now I am curious lol). I have a concern with this method, Condensation, if the temperature change is too drastic you will get condensation (beads of water) on the surface which can affect the coloring. To avoid this I would defrost in the refrigerator (maybe experiment with freezing one first and then defrost it). It may be better to decorate once defrosted as the pigment in sprinkles can be strong and their colors can bleed if there is condensation. Sorry, I know that is a lot of “if’s” regarding the freezing. I will update the post once I get a chance to the freezing method myself. Take care 🙂
This site uses Akismet to reduce spam. Learn how your comment data is processed.